Adding Stripe Subscriptions to Your SaaS: A Complete Guide
How to add Stripe subscription billing to a SaaS the right way — checkout, webhooks, the customer portal, and the details that keep revenue accurate.
 SprintX Team9 min read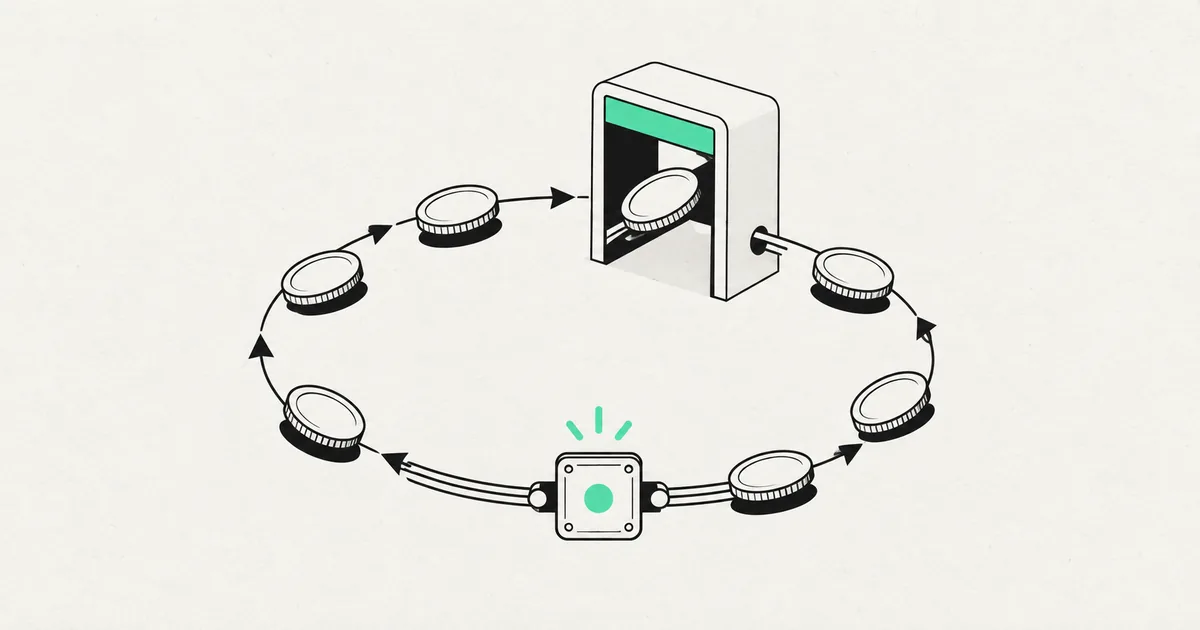
Billing is the part of a SaaS that founders both need most and dread building. It is tempting to think of Stripe as "just add a payment button," but subscriptions bring a whole world of edge cases: trials, upgrades, failed charges, cancellations, refunds, and the awkward question of what your app should do the moment someone stops paying. Get it wrong and you either lose revenue or lock out paying customers.
This guide walks through how to add Stripe subscriptions to a SaaS properly — the architecture, the flow, and the details that separate billing that works from billing that quietly leaks money.
The mental model: Stripe is the source of truth
The single most important idea: Stripe owns the billing state, your app mirrors it. Your database should not try to be clever about who is subscribed. Instead, Stripe records the truth — active, past due, canceled — and tells your app whenever it changes. Your app listens and updates a copy.
Get this backbone right and everything else falls into place. Ignore it and you end up with users who paid but have no access, or churned users who still get in.
The core pieces
A subscription setup has four parts working together.
| Piece | Job |
|---|---|
| Products & Prices | Define your plans and their amounts in Stripe |
| Checkout | The hosted page where customers enter payment details |
| Webhooks | Stripe telling your app what happened |
| Customer Portal | Where customers manage their own subscription |
Notice how much Stripe hands you for free. Checkout and the Customer Portal are hosted pages Stripe maintains — including the painful parts like card validation, tax, and PCI compliance. Your job is mostly to connect them and listen for events, not to build billing UI from scratch.
Step 1: Define plans in Stripe
In the Stripe dashboard, create a Product for your service and a Price for each plan and interval — for example "Pro, $29/month" and "Pro, $290/year." Prices carry the amount and billing cycle; products group them. Keep this structure clean, because it maps directly to what customers pick at checkout.
Start with one or two plans. Complex pricing tiers with metered usage and add-ons can come later; an MVP does not need them, and simple pricing converts better anyway.
Step 2: Send customers to Checkout
When a user picks a plan, your backend creates a Stripe Checkout Session for the matching price and redirects them to Stripe's hosted page. Crucially, store your app's user ID on the session (in client_reference_id or metadata) so that when the webhook fires, you know which account just paid.
// backend: create a subscription checkout session
const session = await stripe.checkout.sessions.create({
  mode: 'subscription',
  line_items: [{ price: 'price_pro_monthly', quantity: 1 }],
  client_reference_id: currentUser.id,
  success_url: 'https://app.example.com/welcome',
  cancel_url: 'https://app.example.com/pricing',
});
// then redirect the user to session.url
The customer enters their card on Stripe, not on your servers. That keeps you out of PCI scope and is a big reason to use Checkout rather than building your own form.

Step 3: Listen to webhooks (this is the important part)
Webhooks are how your app learns what happened. Stripe sends events; your endpoint verifies and handles them. This is the step people skip or rush, and it is where billing breaks.
The events that matter most:
- checkout.session.completed — someone finished paying; activate their account.
- customer.subscription.updated — plan changed, trial ended, or status shifted; sync it.
- customer.subscription.deleted — subscription canceled; downgrade access.
- invoice.payment_failed — a renewal charge failed; warn the user, start dunning.
Two rules keep this reliable. First, verify the webhook signature so no one can fake events. Second, make handlers idempotent — Stripe may send the same event more than once, and processing it twice must not double-charge or corrupt state. In practice this means checking "have I already handled this event?" before acting.
Step 4: Let customers manage themselves with the Portal
You do not need to build screens for changing plans, updating cards, or canceling. The Stripe Customer Portal does all of it. Your backend creates a portal session and redirects the user there; they make changes, and the resulting webhooks keep your app in sync. This one integration removes a huge amount of support work and UI you would otherwise maintain.
Trials, upgrades, and failed payments
Three real-world situations to plan for:
- Free trials. Stripe can start a subscription with a trial period, so access begins immediately and the first charge lands later. Decide whether you require a card up front — asking for one lowers signups but raises conversion to paid.
- Upgrades and downgrades. Stripe prorates automatically when a customer switches plans mid-cycle. Handle the
subscription.updatedwebhook and your app follows along. - Failed payments. Cards expire and charges fail. Stripe's built-in dunning retries and emails customers; your job is to decide the grace period before you restrict access, so a temporary hiccup does not lock out a good customer.
Deciding exactly what happens to access at each status is a product decision as much as a technical one, and it is worth getting right early. If billing is one piece of a larger build, a SaaS development partner can wire it in alongside auth and onboarding so the whole flow is coherent.
Common mistakes to avoid
- Trusting your database over Stripe. Always reconcile to Stripe's state via webhooks.
- Ignoring webhook verification. An unverified endpoint is a security hole.
- Non-idempotent handlers. Duplicate events will eventually happen; handle them safely.
- No test-mode testing. Use Stripe's test cards and the CLI to replay every event before going live.
- Forgetting the failed-payment path. Most involuntary churn is fixable with good dunning and grace periods.
Frequently asked questions
Should I use Stripe Checkout or build my own payment form? For almost everyone, use Checkout. It handles cards, wallets, tax, and PCI compliance, and it is faster to ship and safer. Build a custom form only when you have a specific UX requirement Checkout cannot meet, and accept the extra compliance burden that comes with it.
How do webhooks work if my app is not always online? Stripe retries failed webhook deliveries for a while, so a brief outage will not lose events. Still, you should record events you have processed and be able to reconcile against Stripe if needed, so nothing slips through during downtime.
Can I add usage-based or metered billing later? Yes. Stripe supports metered pricing, and you can add it once your product needs it. Start with simple flat monthly and annual plans; you can layer usage-based billing on top without redoing the foundation.
How long does it take to integrate Stripe subscriptions? A clean subscription setup — checkout, webhooks, portal, and the main edge cases — is typically a few days to two weeks depending on your stack and how many plan scenarios you support. Most of the time goes into webhooks and testing, not the happy-path checkout.
Need subscription billing that actually reconciles — no locked-out customers, no leaked revenue? SprintX integrates Stripe into SaaS products, webhooks and edge cases included, on a fixed-scope quote so you own the result with no lock-in. Tell us your plans and we will wire up billing you can trust.
Building software
Systems your business runs on.
Custom platforms, internal tools and integrations that move work off spreadsheets.
Keep reading.
More on building software
Building software · 11 Jul 2026 · 9 min read
How to Build a SaaS MVP in 8 Weeks
A week-by-week playbook for building a SaaS MVP in eight weeks — scope, stack, and the discipline that keeps a first version shippable.

Building software · 11 Jul 2026 · 8 min read
How to Build a SaaS Dashboard Users Actually Understand
A practical guide to designing and building a SaaS dashboard that users read in five seconds, not five minutes, from metrics to the tech stack.
Building software · 11 Jul 2026 · 9 min read
How to Build a Multi-Tenant SaaS the Right Way
A founder-and-engineer guide to multi-tenant SaaS architecture: how to isolate tenant data, pick a tenancy model, and avoid the leaks that sink products.