Building a Next.js Site With a Headless CMS (Strapi Guide)
Step-by-step: how to pair Next.js with Strapi as a headless CMS — content modeling, data fetching, previews, and going to production.
 SprintX Team9 min read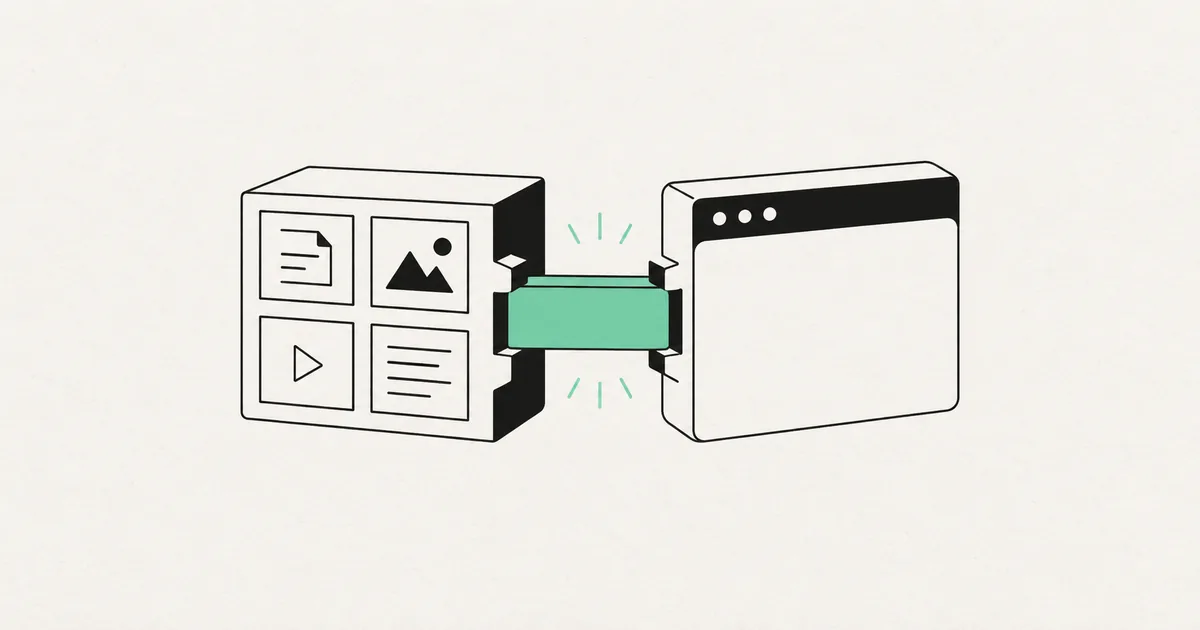
You want a website that is fast, easy for non-developers to edit, and not held hostage by a pile of plugins. Pairing Next.js with a headless CMS like Strapi gets you exactly that: editors work in a clean dashboard, and visitors get a site that loads instantly because it is pre-rendered and served from the edge.
This guide walks through how that pairing actually works — content modeling, fetching, previews, and deployment — so you know what a real build involves before you start.
Why Next.js + Strapi is a strong pairing
Strapi is an open-source headless CMS you can self-host. It gives you an admin panel, a content database, roles, and an API — but no front end. Next.js is the front end: it fetches your content and renders fast pages using the App Router, server components, and edge delivery.
The split is the whole point. Strapi owns the content. Next.js owns the presentation. Because they are decoupled, you can redesign the site without touching content, and you can reuse the same Strapi content in a mobile app later. If you are still deciding between this approach and a traditional platform, our headless vs traditional CMS breakdown covers that trade-off first.
Step 1: Model your content in Strapi
Before writing any front-end code, define your content types. This is the most important step and the one people rush.
In Strapi's Content-Type Builder, create collection types that mirror your site. For a typical marketing site with a blog you might build:
- Article — title, slug, excerpt, rich-text body, cover image, author (relation), category (relation), published date.
- Author — name, bio, avatar.
- Category — name, slug.
- Page — for reusable landing pages with flexible sections.
Good modeling means editors fill in clear fields, not wrestle with raw HTML. Spend time here; a clean schema saves you weeks later.
Step 2: Expose and secure the API
Strapi generates a REST and GraphQL API automatically. In Settings → Roles, give the public role read access only to the content types your site displays. For anything sensitive or for preview drafts, create an API token and store it as an environment variable in your Next.js project — never in client code.
A quick sanity check: hit the endpoint in your browser or with curl.
GET https://your-strapi-host/api/articles?populate=*
The populate parameter tells Strapi to include related data like images and authors. If you see your content as JSON, the backend is ready.
Step 3: Fetch content in the Next.js App Router
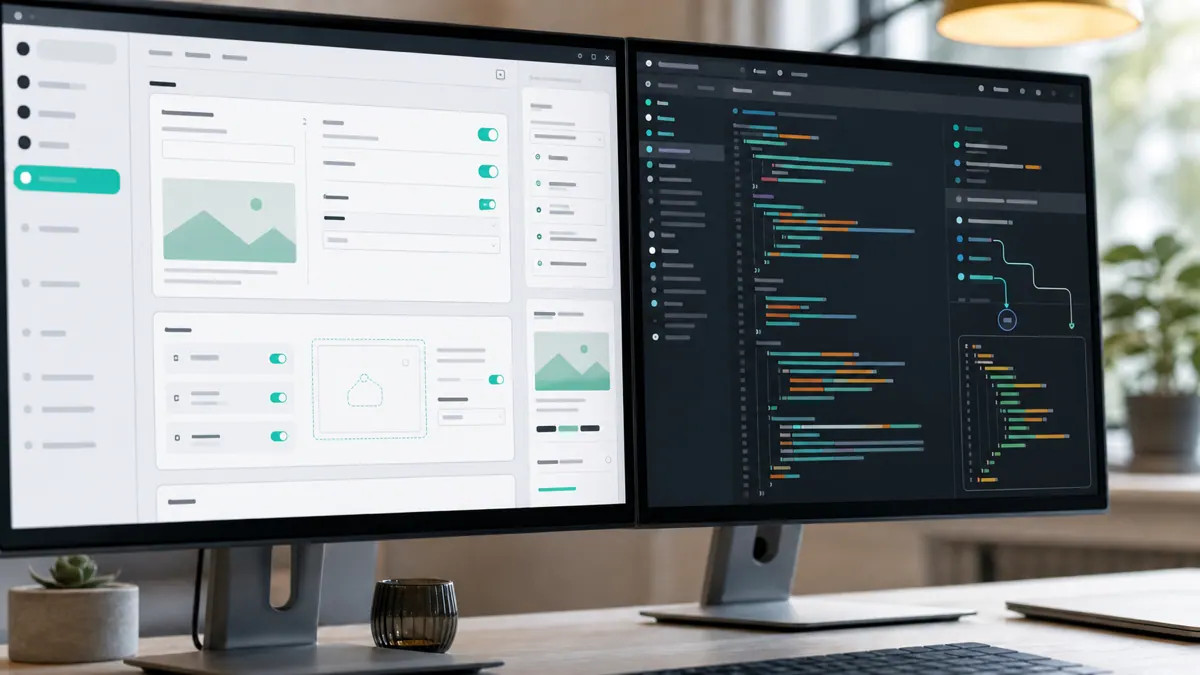
In the App Router, server components fetch data directly — no client-side loading spinner needed. A blog listing page fetches articles on the server and renders them as HTML before they ever reach the browser.
// app/blog/page.tsx (simplified)
async function getArticles() {
  const res = await fetch(
    process.env.STRAPI_URL + '/api/articles?populate=*',
    { next: { revalidate: 60 } }
  );
  return res.json();
}

export default async function BlogPage() {
  const { data } = await getArticles();
  return data.map((a) => /* render card */);
}
The revalidate: 60 option is Incremental Static Regeneration: pages are cached and served instantly, then quietly refreshed every 60 seconds so new content appears without a full rebuild. For individual posts, use a dynamic route (app/blog/[slug]/page.tsx) and generateStaticParams to pre-build every article at deploy time.
Step 4: Rendering strategies — pick per page
Next.js lets you choose how each page is generated. Match the strategy to how often the content changes.
| Strategy | How it works | Best for |
|---|---|---|
| Static (SSG) | Built once at deploy | Rarely changing pages: about, landing |
| ISR (revalidate) | Static, refreshed on a timer | Blogs, product listings |
| Server-side (SSR) | Rendered on each request | Personalized or always-fresh pages |
| Client fetch | Rendered in the browser | Dashboards, logged-in areas |
For most content sites, ISR is the sweet spot: near-static speed with content that stays current. Reserve SSR for pages that genuinely must be fresh on every hit.
Step 5: Wire up live preview
Editors expect to see drafts before publishing. Next.js Draft Mode handles this: a preview URL from Strapi flips your app into a mode that fetches unpublished content and skips the cache, so authors see exactly what a page will look like. Setting this up well is what separates a toy demo from a CMS your marketing team will actually enjoy using.
Step 6: Deploy
Deploy the two halves separately. Host Strapi where it can run a persistent server and database — a VPS, Railway, or a managed container — with its uploads pointed at object storage like S3 so images survive restarts. Deploy the Next.js front end to Vercel, where edge delivery and ISR work out of the box. Set a webhook so that publishing in Strapi triggers revalidation on the front end, and your content goes live within seconds.
Common mistakes to avoid
- Forgetting
populate. Relations and images come back empty unless you ask for them. Missing images usually trace back to this. - Leaking API tokens. Preview and write tokens belong in server-side environment variables, never in components that ship to the browser.
- Skipping image optimization. Route Strapi media through Next.js Image (or a CDN) or your fast site will crawl on mobile.
- Ignoring the database backup. Strapi's content lives in Postgres. Back it up like the business asset it is.
Frequently asked questions
Do I have to use Strapi specifically? No. The same pattern works with Sanity, Contentful, Payload, or headless WordPress. Strapi is popular because it is open-source and self-hostable, which means no per-seat fees and full control of your data. Swap it for a hosted option if you would rather not run a server.
Is this overkill for a small business site? It can be. If you only need a handful of pages edited occasionally, a traditional CMS is faster to launch. Headless Next.js pays off when speed matters, content is structured, or the same content will feed more than one channel.
How long does a build like this take? A focused marketing site with a blog, clean content models, and preview typically runs two to four weeks depending on design complexity and how many custom page sections you need.
Can editors break the site? Far less than with a page-builder. Because editors fill defined fields rather than editing layout, the design stays consistent no matter what they type.
Want a Next.js site your team can actually edit — fast, secure, and built on a CMS you own? SprintX designs and ships headless Next.js + Strapi builds on a fixed-scope quote, previews and deployment included, so you own the result with no lock-in. Tell us about your site and we will map out the build.
Building software
Systems your business runs on.
Custom platforms, internal tools and integrations that move work off spreadsheets.
Keep reading.
More on building software
Building software · 11 Jul 2026 · 8 min read
How to Build an AI-Powered Chrome Extension
A builder-focused guide to shipping an AI Chrome extension the right way — where the model call lives, how to protect your keys, and what it costs.
Building software · 11 Jul 2026 · 8 min read
How to Build a Booking Website (with Calendar & Payments)
A practical guide to building a booking website that takes appointments and payments without double-booking, from the tools to the launch checklist.
Building software · 8 Aug 2026 · 6 min read
CORS Errors in an AI-Generated App, Explained Properly
CORS explained without hand-waving, the specific mistakes AI-generated backends make, and why disabling it is the wrong fix even though it works.